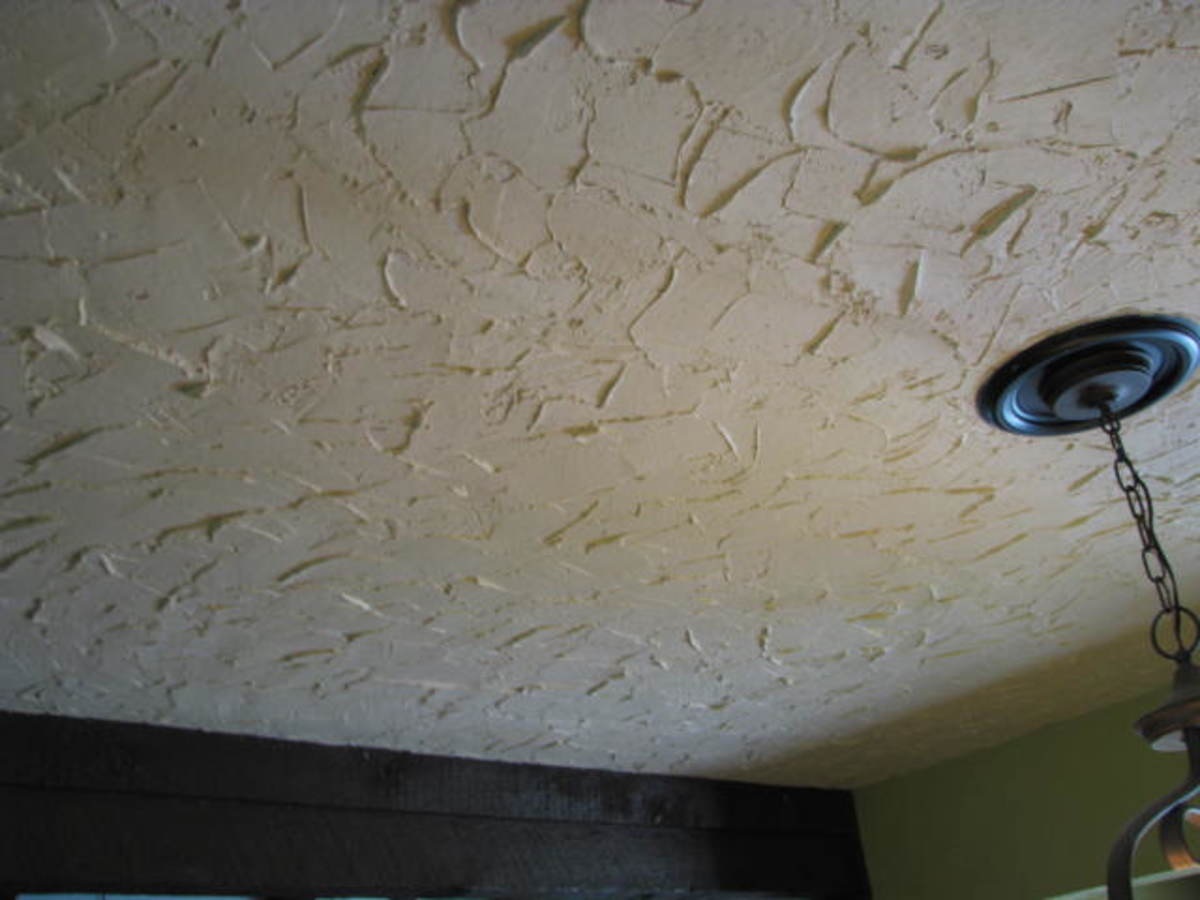
Popcorn ceilings are a well-known finish that resembles a bubble-like textured surface. They were trendy from the late 1960s to the mid-1990s. This is why homeowners who have had difficulty removing carpet and green tiles in the kitchen now want stucco removal.
Steps to Remove Popcorn Ceilings
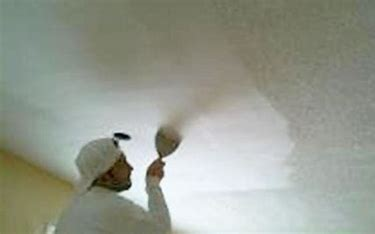
The most effective way to remove a textured popcorn ceiling is to use a large paint scraper. However, if you do not follow the correct procedure and do not know the nuances, you can end up with a huge mess.
Here are some practical tips that you can use to remove popcorn ceilings from your home:
- Determine if your popcorn ceiling contains asbestos. If you built your home before 1980, there is a chance that your popcorn ceiling contains asbestos. This is a dangerous material that can cause serious health problems. To do this, buy a special test kit or hire a professional.
- Gather the right tools. To remove a popcorn ceiling, you will need a scraper, an aerosol can, a ladder, and safety equipment (goggles, gloves, and a respirator).
- Clear the space. Make sure the room is empty before removing a textured ceiling. Cover large items that you cannot take out with a heavy-duty tarp.
- Disconnect ceiling lights. This will reduce the risk of accidental damage. Secure electrical wires with special wire nuts to prevent electric shock while working.
- Protect electrical outlets and light fixtures. Cover them with plastic wrap and masking tape. This blockage will prevent water from entering the outlet and reduce the risk of short circuits.
- Protect floors, doors, and windows. Cover all surfaces with a heavy tarpaulin mat and secure it with masking tape.
- Wet the ceiling. Fill a spray bottle with warm water and a few drops of detergent and spray the ceiling.
- Scrape off the popcorn texture. You can use a wide putty knife for this. Use smooth, even movements to remove the material effectively. You can add more water to make the process easier. Wait 24 hours for the ceiling to dry before moving on to the next step.
- Apply a sanding coat and sand. This will help you fill in any gaps and provide a smooth surface. Let the mixture dry, and then sand again to remove uneven areas.
After this, you can prime and paint the ceiling as desired.
Finally, you can remove the mat, put the lamps and fans back, remove the socket covers, and arrange the furniture.
Removing the popcorn ceiling is quite problematic. This process requires special tools and skills. The main problem with removing popcorn texture is the colossal mess it creates. Only professionals can remove popcorn ceilings without dust and dirt. If you’re intimidated by cleaning or need more time, hiring professionals is a great way to solve the problem.
How to simplify the process of removing popcorn ceilings?
If you want to simplify removing popcorn ceiling as much as possible, use the services of professionals from Renovated-Home. Experienced craftsmen will help transform your home into the place of your dreams. Renovated-Home craftsmen use leading technologies to remove textured ceilings. The surface is removed without dust and mess.
The Renovated-Home team works in Toronto and provides the highest professional services. Сraftsmens have extensive experience leveling ceilings, so you will not have to wait long. They will perfectly level the surface and clean up everything after themselves, leaving a clean space in your home.
If you have questions about the cost, request a consultation. Managers will contact you and calculate the cost of work individually, considering the area, ceiling height, and the presence of furniture. Get a free consultation right now. For the Silo, Kristina Rigina.